I just had to start building. The latex paint is drying and waiting to get sanded before final coat.
I have ordered new bolts from spruceaircraft.eu but I hasn’t gotten it yet. So I am preassemblying with the old bolts first.
The twin root tubes had to be knocked into the cross tubes with the power of lube, rubber hammer and muscles.
This is the last tube on the fuselage to paint. I still have the wing struts left to paint. I am getting tired of painting now. But it’s soon there.
To keep my motivation high, I started painting my sails. The rudder and fin is already painted in silver. But I want a nicer look. Made in Sweden! 😉
I have been reading a lot about using latex paint on fabric. So I will give it a try. I bought Beckers acrylic paint based on latex. I am diluting it with windshield washfluid. Using a foam roller, I am applying very thin layers and letting it dry. Before painting again I sandpaper the surface with 400 paper and then go for a little thicker layer and so on. Later I will use rubbing and wax to get the gloss.
It sure is nicer to work with this stuff rather than the toxic poulerathane primer.
I still have several layers left to apply. Time consuming, but nice.
I wanted to see if my prop was in balance. It was. But after my small repairs it won’t be anymore, so I am going to need a balancer. You can buy expensive ones but all you need is this simple but precise homemade tool.
Check the balance by reading the bubble position and the cups position on the top. Turn the bubble tube to check the balance in different directions.
Add epoxy as balance weight. Don’t forget to balance the prop in all directions. The cup souls be in the center and the bubble should be in the middle in all the directions.
The brakes and rims is in good condition. The old tires is staying on until it’s time to fly. I rolled on some extra layers of paint on the leaf springs, it should hold up good. The rims got several layers of wax and wax sealer.
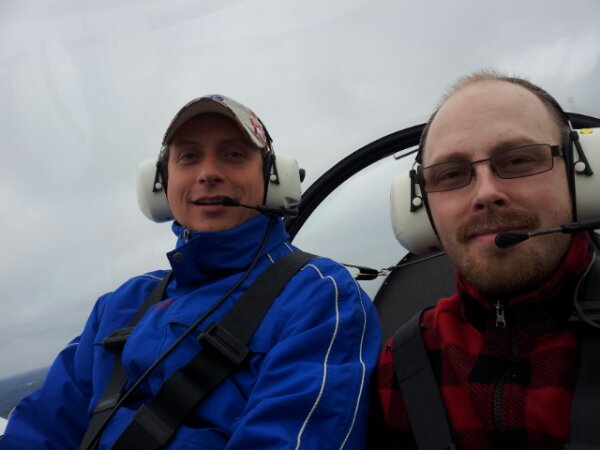
This sunday me, christian and Stefan met at the flight club to replace one tire on our Eurostar Ultralight. The airport is sweeping the runway of by using large rotating steel brushes. The brushes leaves small nails on the runway and they puncture our tires. Anyway, me and Stefan went for a short. Flight around the flight pattern just to do son flight training.( don’t get much flight practise nowadays).
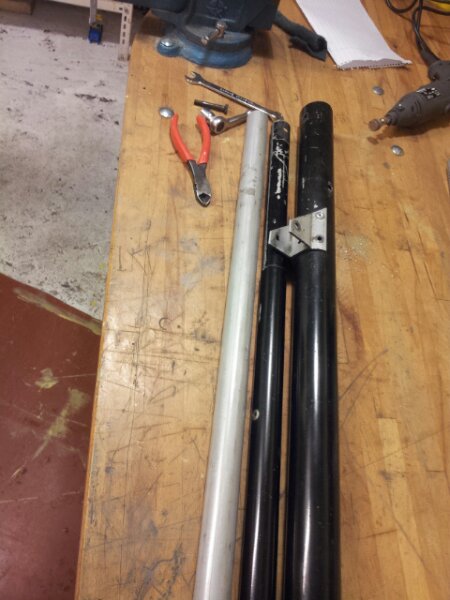
The new tubes has alclad coating on the surface that needs to be eliminated before painting. You can use etching chemicals, wash-primer, alodine coating or just rub it down with fine sandpaper and scotch brite before priming with Epoxy or polyurethane Primer. It all depends on how the climate is were your plane is operated. In Sweden we don´t have to hi humidity and salt water in the air. Tierras and Akkas was just Painted with Epoxy paint and it last many years. But it needs to be looked after. I think polyurethane Primer is bether than Epoxy Primer because I think it´s more flexible and can withstand erosion better. JAS39 Gripen is primed with polyurethane primer and at many places it is the only paint used. But SAAB uses wash primer/ Alodine on all their parts before priming. But I am not rebuilding a jet fighter… Or do I…?
The two tubes needs to be replaced. They have big scratches from the rudder control wire slamming into it. I thing the reason is to low wire tension. The tension is created by rubber cords holding the rudder pedals forward. The two tail support tubes are mounted on the upper boom tube by this aluminium bracket shown on the picture. The bracket is riveted on the boom tube. It needs new rivets and to be reassembled, because it has to much play now. It shouldn’t have any play at all. I am also going to insert delrin/ pom/acetal plastic rods in the tube ends. I can’t understand why they don’t use inserts from the beginning. Maybe to save weight and costs, but I guess they didn’t know better.