Category: Ultralights

Seaplane rating lesson

I finally got to start my Sea Plane Rating for ultralights this summer. I have always wanted to combine my airplane hobby together with my wildlife and fishing interests. It must be wonderful to be able to fly out to a lake where nobody gets access to and just land, slowly taxie to the perfect fishing spot, throw out the anchor and pull out the telescope fishing rod.  A child’s dream! 

Anyway, I am doing it! I have now taken 7 hours seaplane flight lessons and it’s a blast! I need about 3 to 5 hours more to extend my Ultralight license with a Sea rating. I also need to take the written exam. My teachers Per and Hasse is great and really wonderful to be around. They love what they are doing and it’s a thrill to learn from them. 

My first Seaplane lesson ever  was with Per in his Piper Cub on Full Lotus floats on the lake Ivö in Kristianstad. I was hooked and I decided to pursue my dream sooner or later. I just needed to finish the automation education I had started first. Now it’s time to get started! 

So this summer Per and Hasse had put together a nice seaplane camp in Ekestad at Råbelövssjön and at Bäckaskog Castle. We flew in several days and the weather was perfect. 

Hasse have many many hours as a heavy aircraft Captain and also a very experienced Seaplane pilot, both commercial and private. He has a lot of exciting stories from when he worked as a Seaplane taxi Pilot. This admirable man is the perfect teacher not only because of his great knowledge and skills, but also his calm, nice and secure way of being.

Per is the wonderful passionated doctor who’s wide range of experience in different types of aviation areas, makes him a query interesting teacher to learn from. His excitement is really contagious and it makes the hard work while learning easy. 

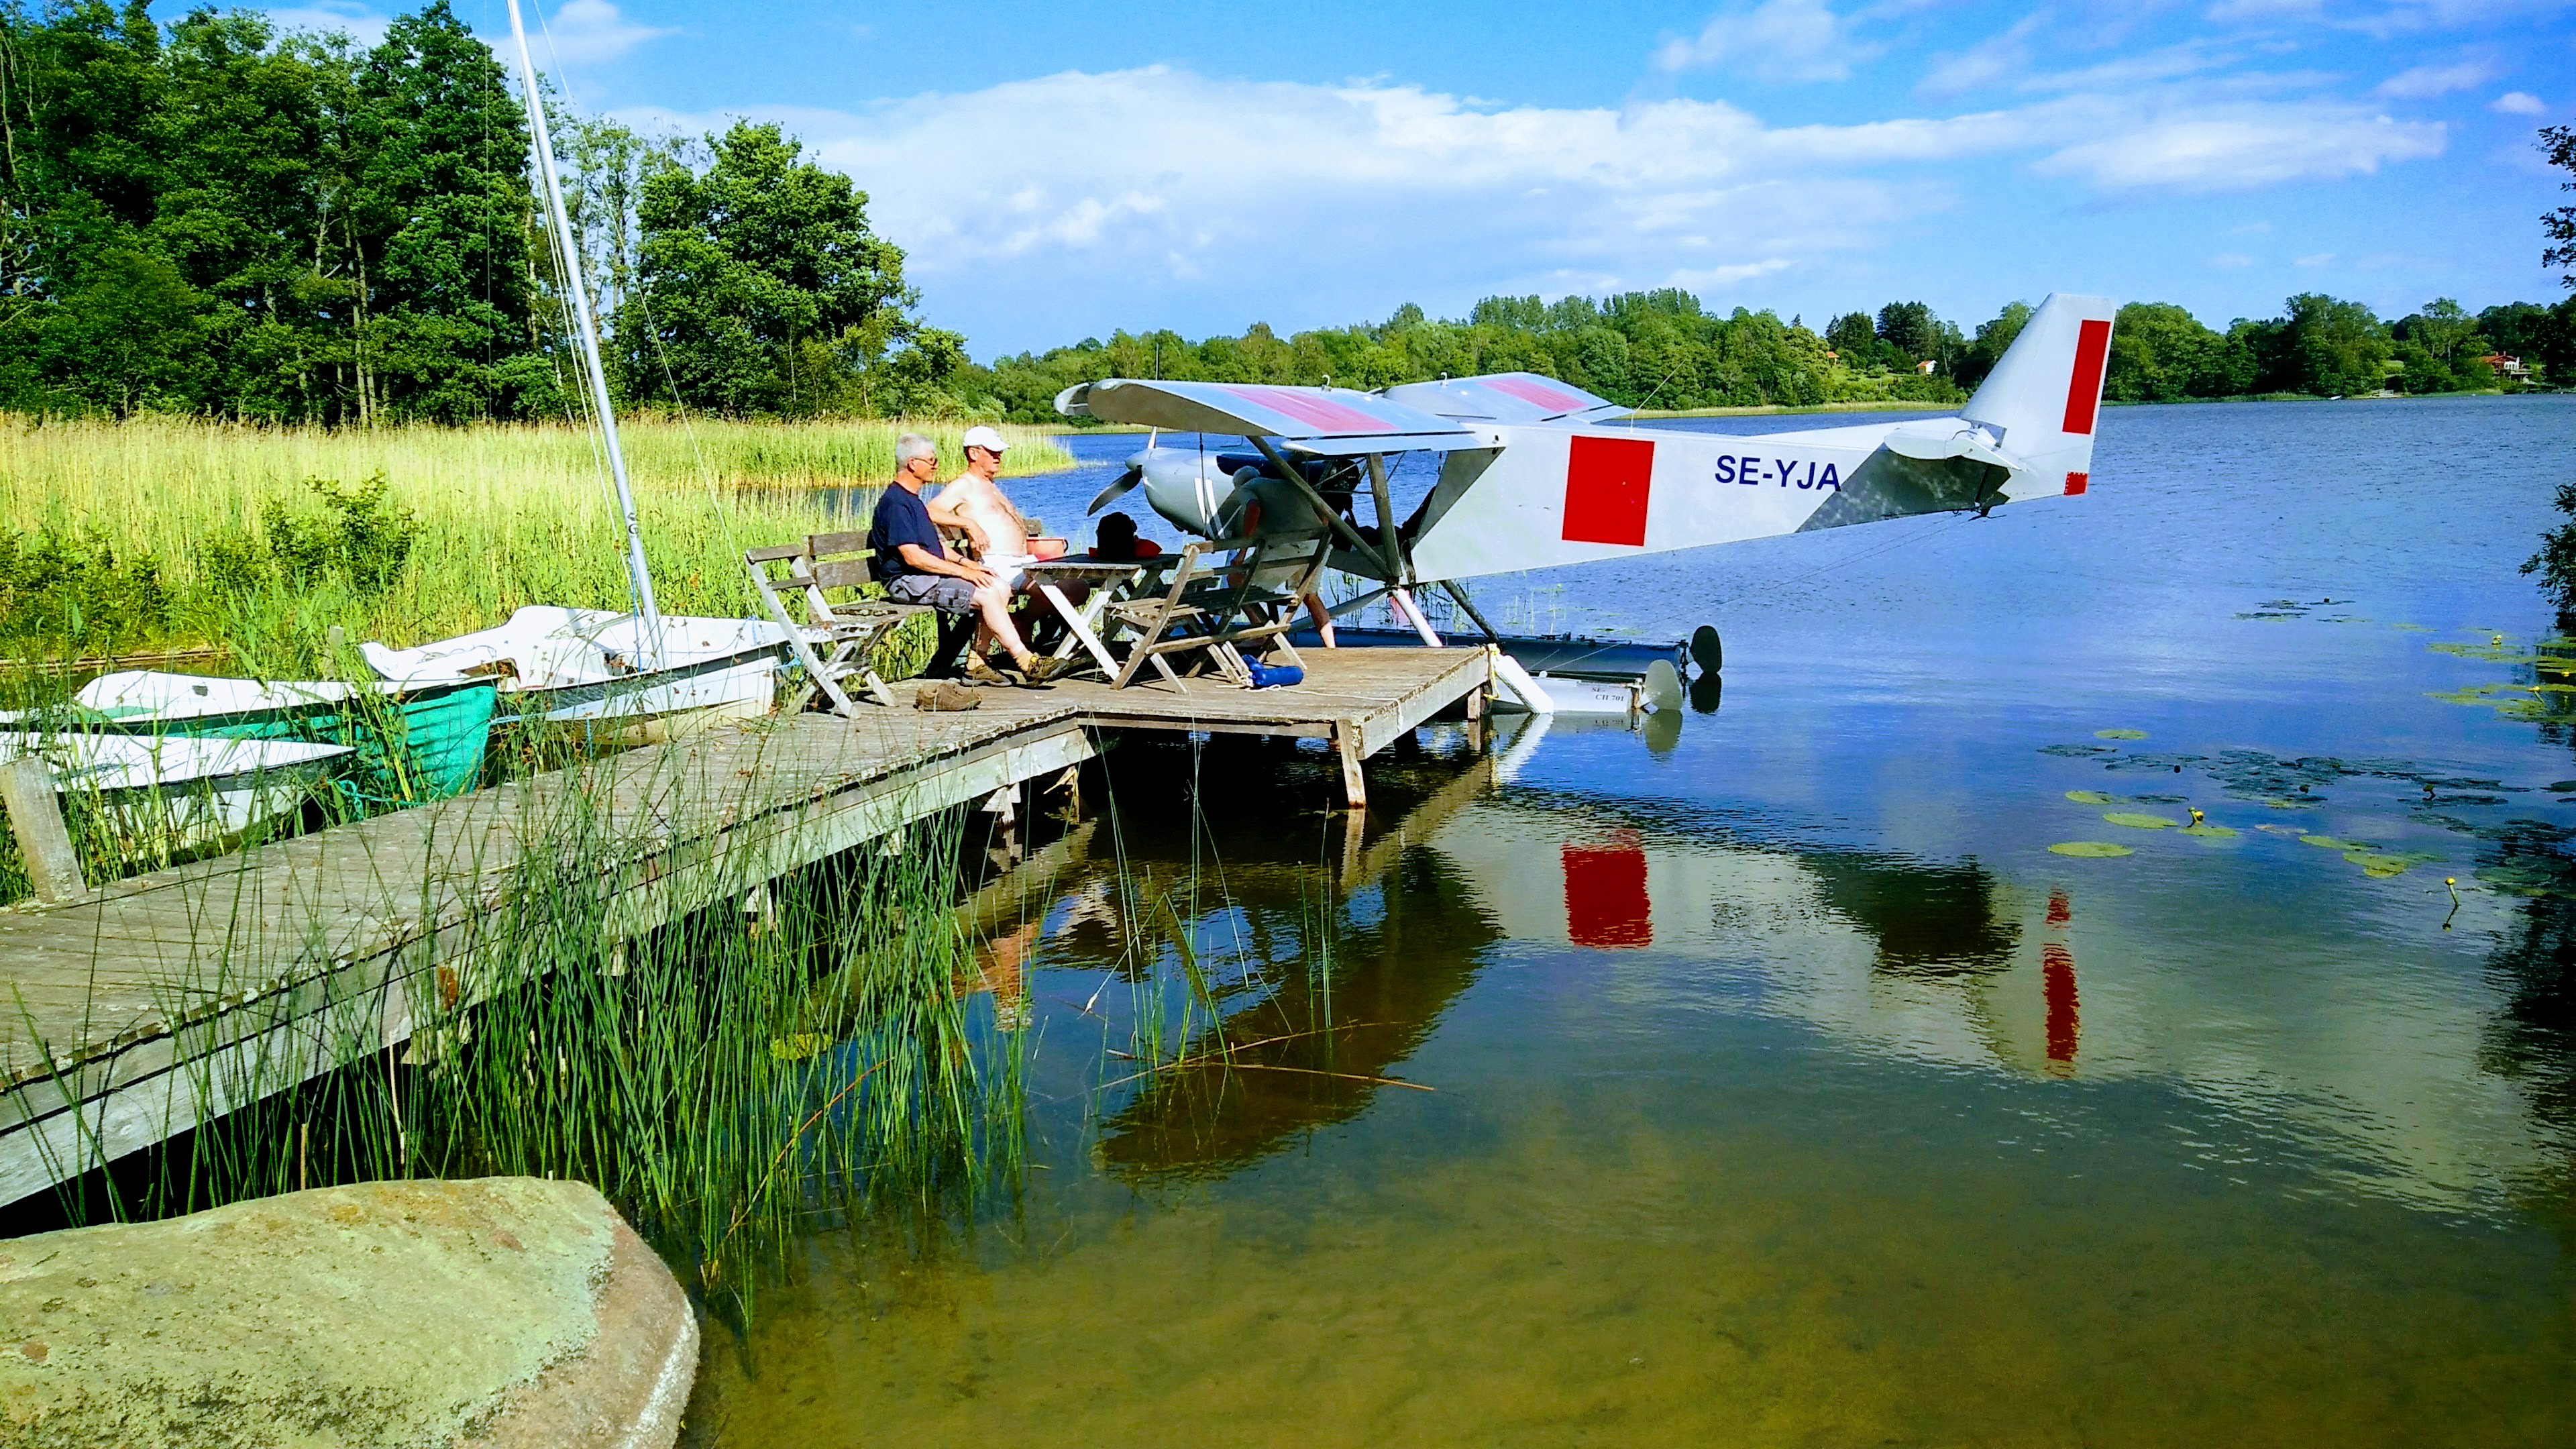
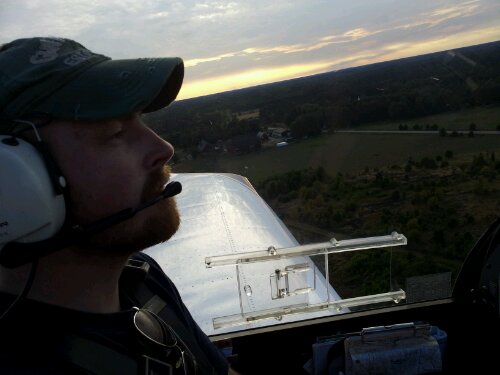
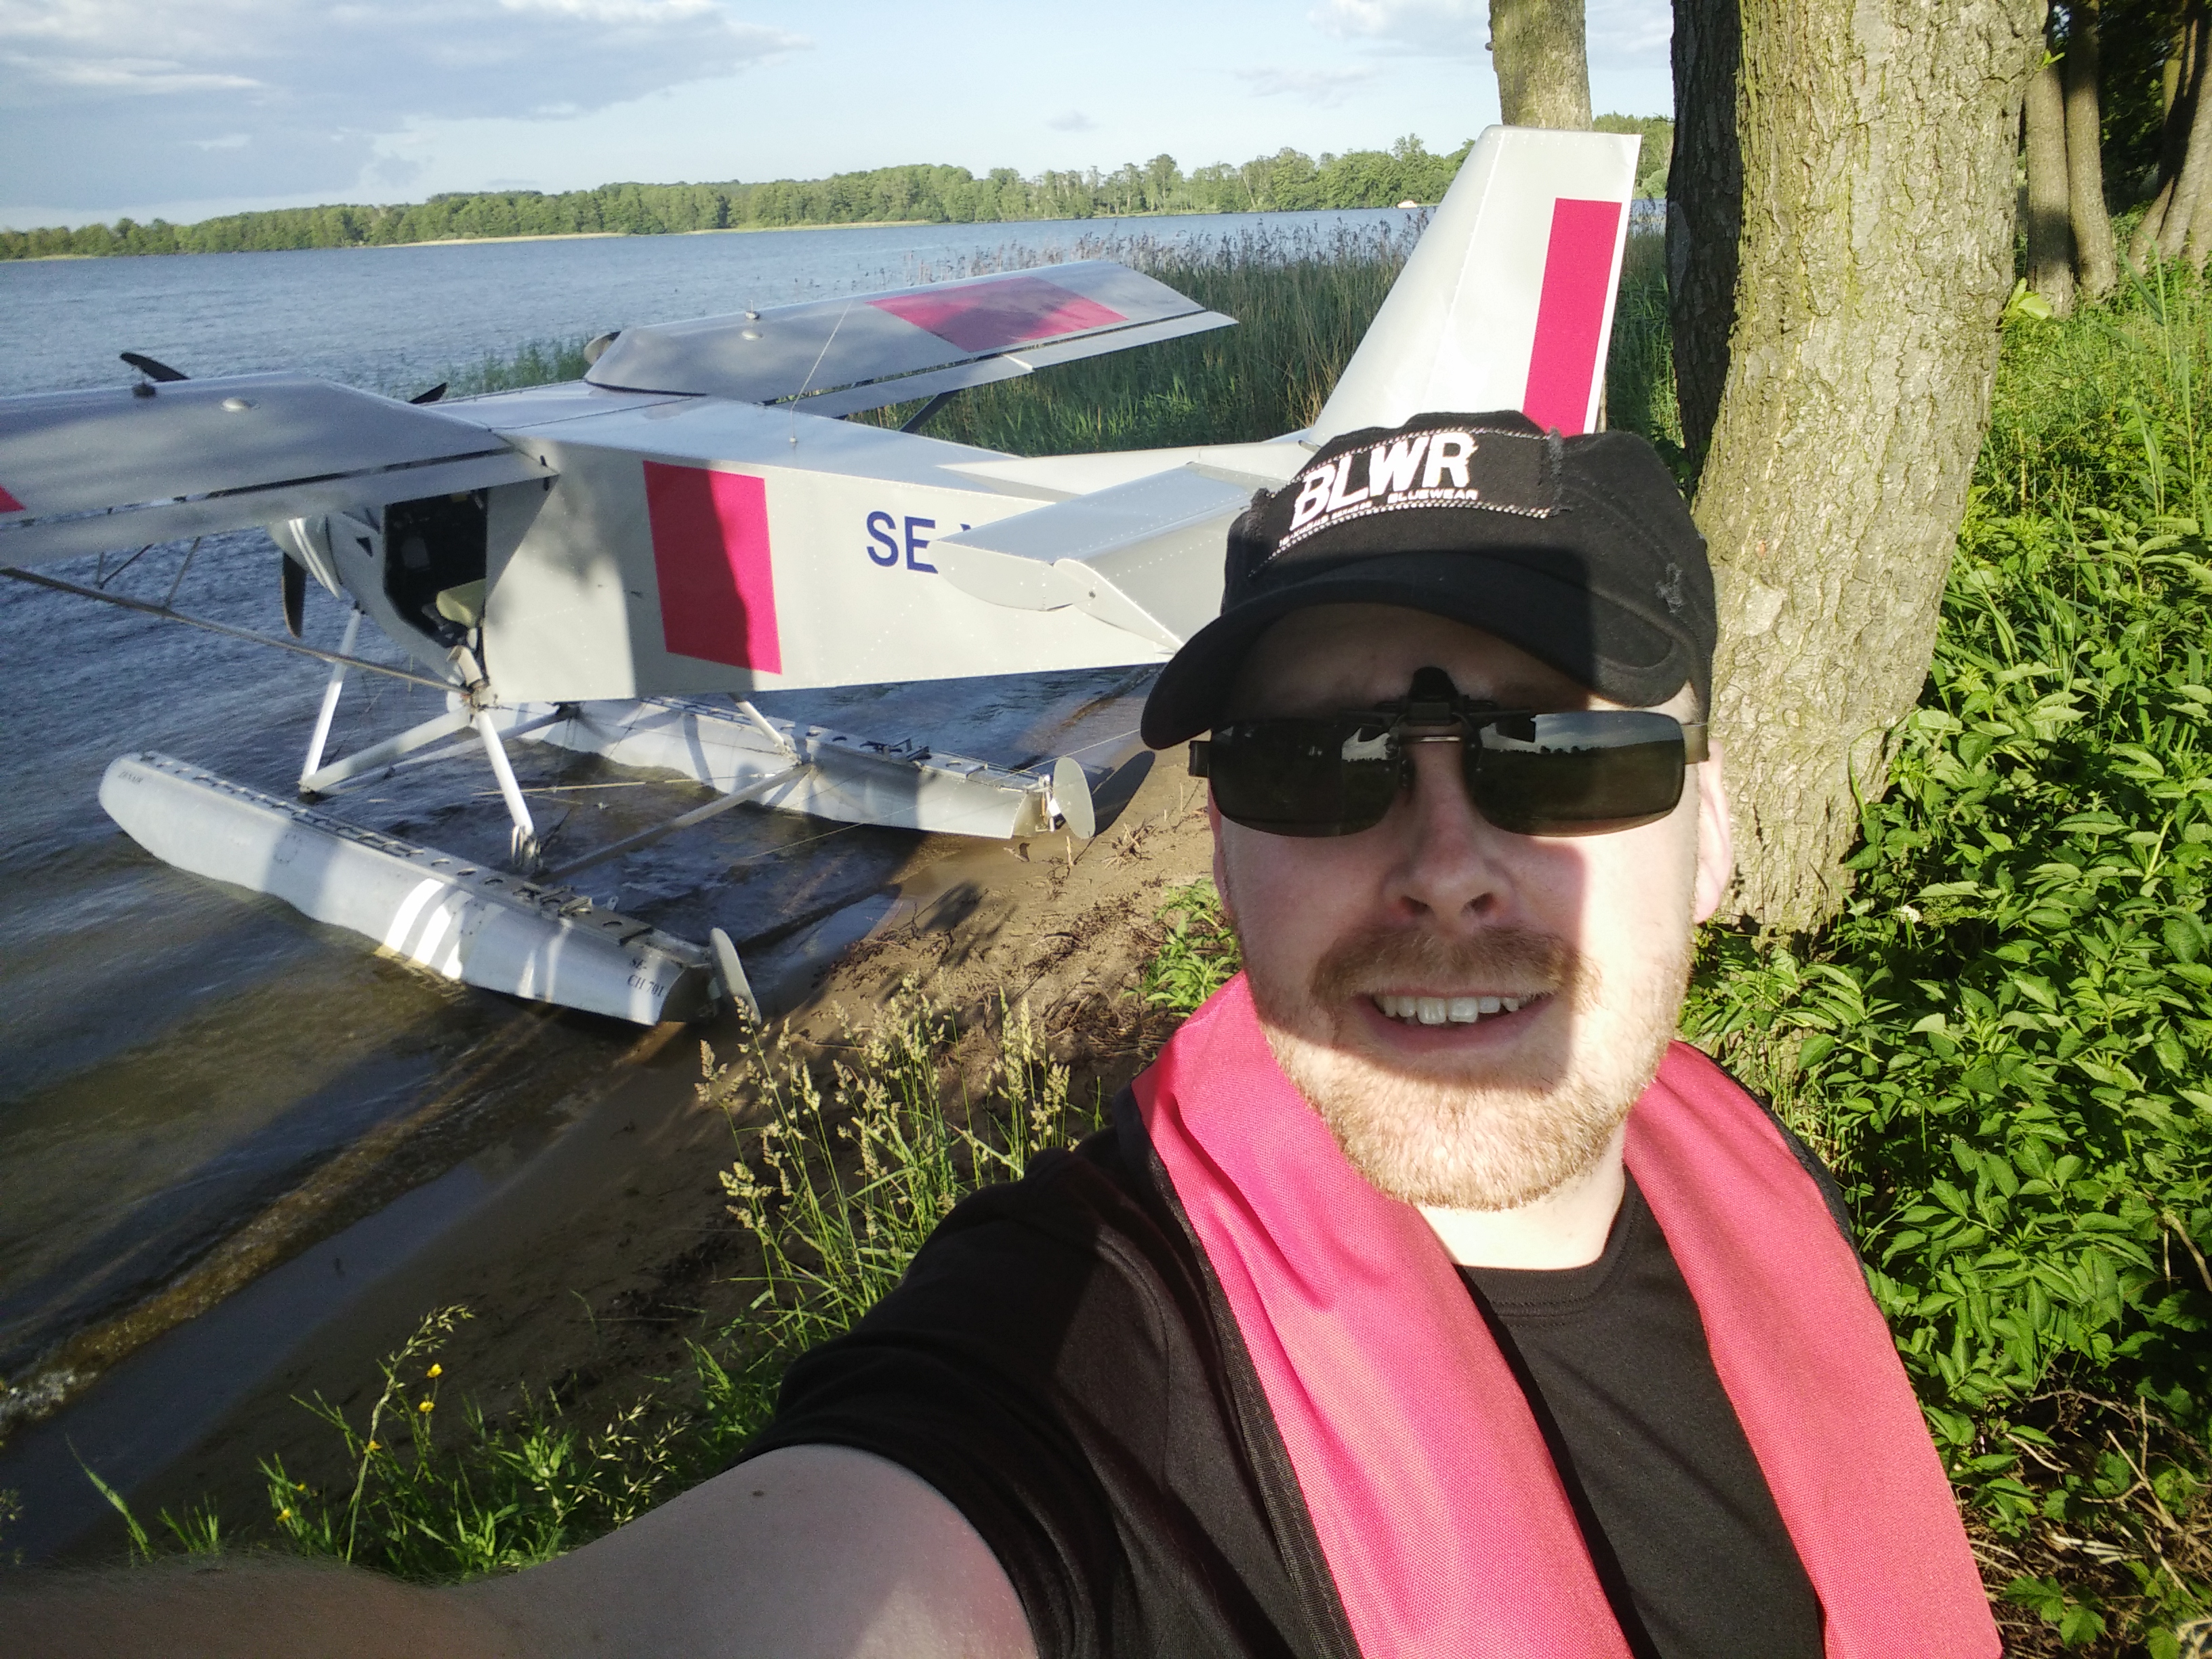
Yesterday I spent the day with Per at his home base in Ekestad flying the seaplane SE-YJA that our club SjöflygSyd own. We used a lot of time just talking, hanging out, refueling on one of his friends unstable floating beach bridge before we got in the air. We did 3 normal landings, 2 power off landings, 2 glassy-water landings and one side wind landing. We plowed around and we did bridge docking and beach docking. Everything went great and it was a blast! I wanna do it again!!
YJA is an Zenair CH701 STOL on floats. It’s a very special aircraft with nice short take of and landing performance. On floats you need to really fly it al the way down to the water surface, meaning you need about 50% power to be able to do a nice and soft landing. 

More to come and yet to see!

Aileron work

Working on the ailerons. It’s like building a giant scale RC-plane. These ailerons are quite heavy duty I must say. I understand that they need to be extra strong and stable, because there are only ailerons on the lower wing. 

I got a nice little band saw for Christmas present from my wonderful wife. So cutting up all the sticks was easy. Gluing with T88 epoxy and clamping  with small plastic clamps.

The rod and hinge. I will use ball bearings instead of lexan bushings.

The leading edge is going to be covered with plywood. I painted varnish on the inside before covering. All surfaces to be glued was sanded before.

Using aircraft plywood from Finland.

The plywood is glued at one edge as a first step. I make two test samples for each glue batch. (One test sample is laying on top of the plywood).

Two Stroke Engine Dehumidifier

Image

All engines should be dehumidified when not in use. Our hygroscopic synthetic oils and much groundtime , increases the risk of corrosion and rust in the engine. The crankshaft and its bearings in a two-stroke are very vulnerable and is also the most costly to replace. It seems that many have forgotten about all these two-stroke engines found in many ultralights. I have built a simple dehumidifier for my Rotax 582. The problem has been to get hold of Blue Silica Gel. Bluegel is very unhealthy and environmentally harmful, why availability has decreased. Nowadays, there is a yellow variant that is more environmentally friendly , but rather expensive . The color of these changes when the gel is saturated with moisture.
After some googling and searching in shops I’ve found cat litter made of Silica Gel. It has no color, but you simply replace / dry it regularly. You can dry the gel in the oven for 2 hours at 200-250 Celsius degrees. The price is lower than the Yellow gel and I’ve found it at my local food store. I intend to have the dehumidifier standing on a letter scale to see when the gel is saturated with water. I will also measure the moisture content in the engine exhaust pipe to verify the function . Below 40 % relative humidity the corrosion attack stops .
This dehumidifier is also suitable for 4-stroke engines with wet oilsump like Lycoming and Ww . A good video demonstrating a similar dehumidifiers, is available on Youtube here: https://www.youtube.com/watch?v=AQRZBwzU54Q
It is difficult to dehumidify a Rotax 912 with its dry oilsump. I’ve seen solutions where you let a desiccant dehumidifier with a hose, blowing dry air in to the engine ram air inlet. Plugs cut out of foam was used to seal the engine compartment. A hose branch can be used to dehumidify the cabin etc. .

Shopping list.
 Crystal Cat Litter (Fresh & Easy) or yellow Silica Gel
 Two plastic box/jars/cans that fit together tightly
 Aquarium Air Pump 100L / h with 1 hose connector (pet shop).
 5mm inside diameter PVC tube (auto parts store)
 Felt mat (pet shop) or vacuum cleaners filter.
 3 x Rubber Grommets 5mm In. Ø (auto parts store)
 2 Splice Connector and shrink tube / electrical tape for the Air pump electrical cable.
 Wide bicycle tube.
 Plug in rubber, foam or blue Styrofoam for the exhaust pipe.
 A 5mm piece of string or rubber rope . Approximately 0.5 m long

Assembly
1. The parts should fit well together. The negative pressure created by the air pump contributes to the sealing of the cans.

Image
2. Install a rubber grommet in the top can and two in the bottom can. The holes should be 2-3
mm smaller than the grommet outer diameter. Be sure to get clean, round holes, it seal better
then. The rubber grommet should be small enough so that the hose or cable can be pushed through with little violence and Vaseline.  Insert a hose into the top can rubber grommet, allow it to protrude about 5 cm.

Image

3. Cut off the air pump electrical cable 5cm from the pump. Insert the wire through one rubber grommet in to the bottom can. Splice the cable, use butt splices and heat shrink tubing on the .

Image
4. Place the pump in the bottom can. Insert a hose through the second rubber grommet and connect it to the pump.

5. Drill two holes in bottom can flange and mount the rope as shown, but do not tie one end yet, this will hold the cans together later.

6. Drill approx. 50pcs 2mm hole in the top can lid.

Image

7. Cut a felt pad so that it fits the top can.

8. Fill the top can with Silica Gel and add a filter or felt padding on
the top. Install the lid.

9. Cut of a bicycle tube . Share it lengthwise and glue the short ends together with contact adhesive ( First clean thoroughly with solvent and sand the surface ) . Adjust the length so that it fits tightly around the engine air filter. The hose must be wider than the air filter. Connect pump outlet hose to the bicycle tube vent .

Image

10. Drill a hole in the exhaust pipe plug. Connect the top can hose into the exhaust.

11. Assemble the cans and tie the other end of the rope. Adjust the rope length so that the cans are held together snugly. When the dehumidifier is not used, you should plug or clamp the hoses.

Good Luck! Feel free to contact me with questions or tips for improvements!
Happy flight this summer!

Airplane trailer

I need a trailer. And it needs to be a closed one. So I bought a cheap caravan chassie and found my old party tent. Next I went to the metal dealer and got some roof sheets that they wanted to get rid of. The hole think has costed me about 5000kr (500euro) in material costs. Next week I am going to do a new registration certifikation. It costs 1400kr. Anyway, I am building just what I need for a fare amount of money.

image

image

image

image

image

image

image

Next I am going to mount the wing storage mounts and some attachments in the floor for the fuselage. Later I will make a foldable table in the front with some toolboxes under and a small door to get in from the front.

Jag är ett sätt att tänka.

Fly to the sky

image

This sunday me, christian and Stefan met at the flight club to replace one tire on our Eurostar Ultralight. The airport is sweeping the runway of by using large rotating steel brushes. The brushes leaves small nails on the runway and they puncture our tires. Anyway, me and Stefan went for a short. Flight around the flight pattern just to do son flight training.( don’t get much flight practise nowadays).

image

Jag är ett sätt att tänka.
image

Fabric testing

Today I decided to test the wing fabric on my plane. The fabric is made of dacron sail fabric. Polyester fabric. It is strong and light. But it is sensitive to UV deteration from the sun. The wing is painted whit a paint mixed whit aluminium paste. Still it ages, depending on how many hours it has been in the sun.
In my bible, Ac43-13, it is described how to test the fabric. I had to cut out a piece of the top wing, clean the test piece, and clamp it in the ends. Then I used some weights and started to load the fabric until it broke.

image

One piece from the top of the wing and one from the bottom. The top piece is weakened, but it has to be able to take a load of 35lb/inch (15kg/25,4mm) to pass the test.
It did pass the test. I was able to load 19kg before it snapped of.

image

image

And here it is breaking on 19kg load.

image

I can fly safe with these sails. I just need to repair the holes.

Jag är ett sätt att tänka.